

I love unexpected garage sale finds like this tea caddy! Although it’s meant to be a tea bag holder, I saw the potential to upcycle it from a tea storage box into a planter for the holiday season. It could be used as a centrepiece on a table or for decor on a coffee table or side table. Our wooden planter box DIY is going to look stunning with the addition of poinsettias, but choose any seasonal flower to use this in the Spring, Summer and Fall too!
Watch the Video
Wooden Planter Box DIY
One side of the caddy has a chalk board finish to write on the kinds of tea bags for each storage space.

I was originally going to use this tea caddy as an outdoor planter. So I prepped it to paint the inside.

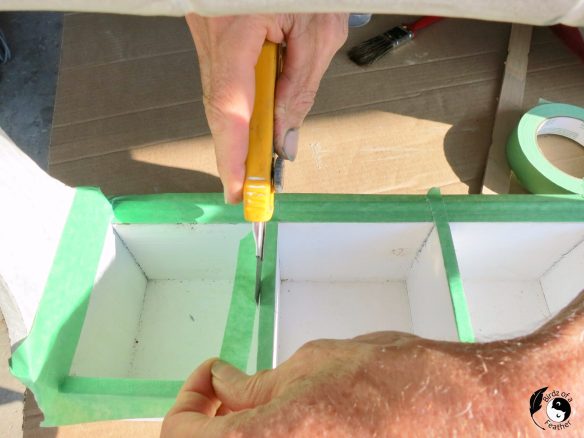
Green painters tape is applied.

After taping where you don’t want the waterproofing, cut the tape down to size with a utility knife.
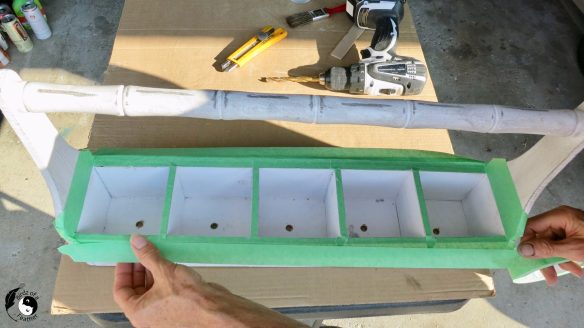
Then drill holes in the bottom for drainage. However, if you’re doing this for only for indoor use, skip the holes.

Holes are complete!
Our waterproofing of choice is Liquid Rubber. We use Liquid Rubber to seal all our planter projects to protect against potential water damage over time.
Keep water handy in a container to soak the brush immediately after use so it doesn’t dry on the brush.

Scoop some Liquid Rubber into a separate container. 
Then brush on 1 – 2 coats according to directions and let dry.

Milk Paint the Tea Caddy
Remove the tape.

Before milk painting, rub on some wax if you wish to distress the finish.

Mix the milk paint powder with equal parts water.

Then brush it right on; 2 – 3 coats depending on the colour you choose.

Stencil the Tea Caddy
I’m using the Argyle stencil from Old Sign Stencils. Just like I did the skirt around our refinished coffee table, I alternate the colour of the diamonds using black and white paint.

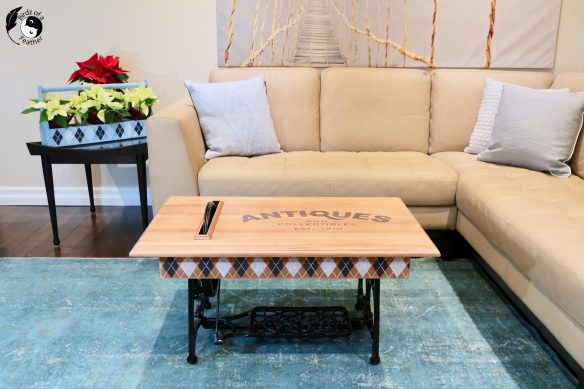
Here’s how it looks. You can see our coffee table in progress in the background.

The last step of the Argyle pattern is to finish off with the pinstripe stencil.

Tea Caddy Planter
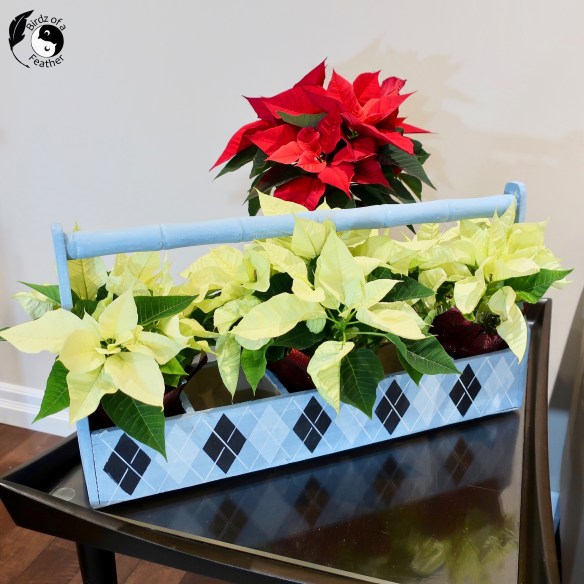
All that’s left is to insert 3 poinsettias into every other space in the caddy. You may have caught a sneak peak of it on our MCM side table when we posted our coffee table makeover.
Now I can show you some closeups! The tea caddy box is now transformed into stunning planter for poinsettias! Although we’re showing it in the living room, it’s really meant to be a centrepiece on the dining room table.
The only thing I didn’t get a chance to do is to seal the milk paint with Hemp Oil. That’s because I’m running out of time and want to as many inspirational Christmas project ideas complete before the holidays! Finishing with Hemp Oil will give it a smooth lustrous finish. Then I’ll also distress the parts with wax that you saw earlier!
The tea caddy poinsettia planter also happens to fit perfectly in that little sliver of space beside the wheel of the coffee table. So when you aren’t using it in the dining room, it can go almost anywhere!

In the summer, since there are drainage holes in the bottom, we’ll be able to use the tea caddy planter outside on our retaining wall in the backyard. But until then, I really can’t get enough of our poinsettia planter projects! I’m even hoping to squeeze in one more poinsettia project before the holidays!
Click here for more unique stencil ideas.

Christmas Gift Giving
Before you go, if you love to gift handmade items (or fun books), check out our very first Christmas pattern collection! It’s available on Amazon as an eBook and will soon also be available as a Print on Demand book too for those of you who prefer a hard copy.
100% of proceed go to our Crochet for a Cure fundraiser (more about that story here).

Want more holiday inspiration? Check out these 31 Christmas Craft Ideas for Adults! Or check out these amazing upcycled planters for ALL our planter ideas!
Pin Wooden Planter Box DIY
Pinning is always welcome and appreciated!
If you haven’t already, get you craft mojo on with Birdz of a Feather and subscribe! You can also follow us on Pinterest, Facebook, YouTube and Instagram.

Check out our How To Stencil and Liquid Rubber projects for more great stencil and planter ideas respectively!
This is adorable Sara. That argyle pattern is just dreamy, too. What a perfect accent.
Thanks Kim! It’s like the Argyle was custom made for this piece 🙂